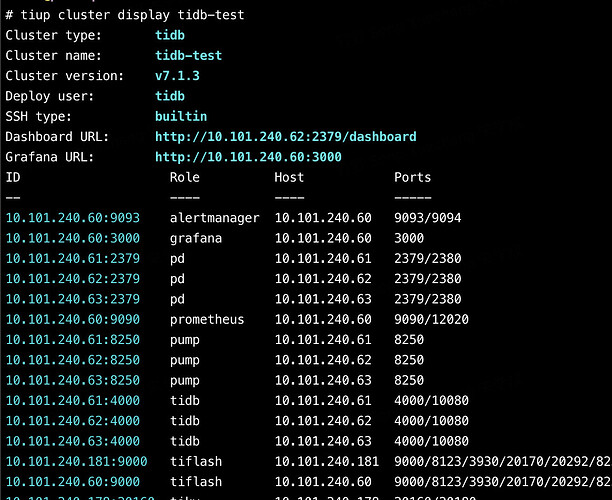
1、对数据库进行全备
建议用br对数据库进行全备,防止后续步骤中出现意外,保障有恢复的兜底方案
br backup full \ –pd “${PDIP}:2379” \ –storage “local:///tmp/backup” \ –ratelimit 128 \ –log-file backupfull.log
2、安装tiup
下载同版本的数据库安装包安装tiup
安装完成后执行
source .bash_profile
安装tiup cluster
tiup cluster
3、手工编辑 topology.yaml 文件
生成拓扑文件模板
tiup cluster template > topology.yaml
对集群内所有的节点进行逐一登录检查,获取 topology.yaml 文件中所需要的安装路径、数据路径、端口号、以及参数
ps -ef|grep tidb-server ps -ef|grep pd-server ps -ef|grep tikv-server ps -ef|grep tiflash ps -ef|grep alertmanager ps -ef|grep dm ps -ef|grep pump ps -ef|grep cdc ps -ef|grep drainer ps -ef|grep alertmanager ps -ef|grep grafana ps -ef|grep prometheus ps -ef|grep monitor
进入到匹配到的部署目录下的config 目录,cat .toml 文件获取已经设置过的参数
在 topology.yaml 文件中务务必保证 deploy_dir \data_dir \port \config 等都跟集群中的实际情况一致
4、批量将 instance 级别的 bin/{instance}-server 文件 mv
因为使用已发布的 tiup 进行部署,需要覆盖 instance 级别的 binary 文件,但是对正在运行的服务没有影响,替换过程中可能出现 Text file busy 问题,所以需要手动将所有的 binary 文件都 mv 成 old,或者其他名字(mv tidb-server tidb-server_old),此步骤务必保证操作完全,避免 deploy 出现问题。
5、根据 tiup 部署集群步骤,进行 deploy 操作
tiup cluster deploy {cluster-name} {version} ./topology.yaml --user {username} -p
由于当前 tiup 并没有集群的元信息,所以 deploy 不会出现目录端口冲突。deploy 会下载指定版本的 binary 文件并覆盖到原集群。(因为目前是非常规 deploy 所以覆盖是可以理解的正常操作,upgrade 会将 bin 目录进行备份)
执行部署后拉起集群。
按照上面步骤已恢复。
建议还是定期备份至其他位置。
